How to Design a Flower Bed: A Step-by-Step Approach for Gardening Newbies
By Sarah Finazzo • April 8, 2024

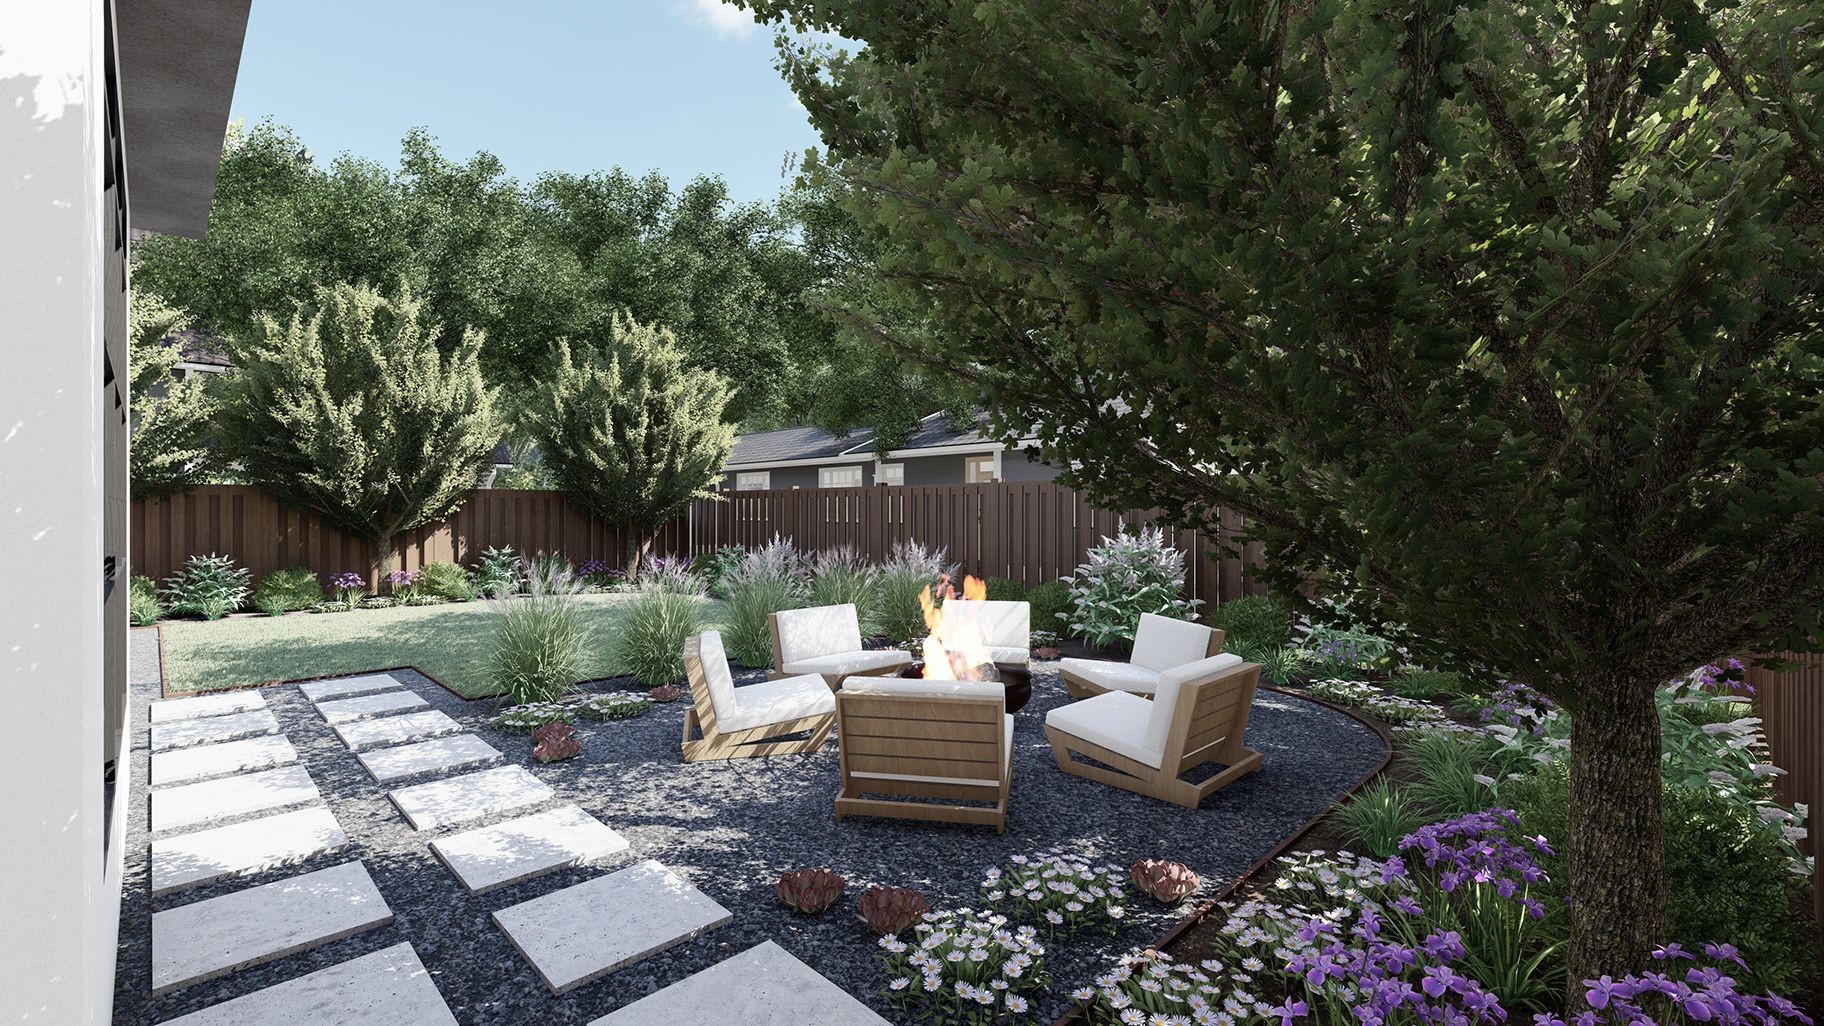
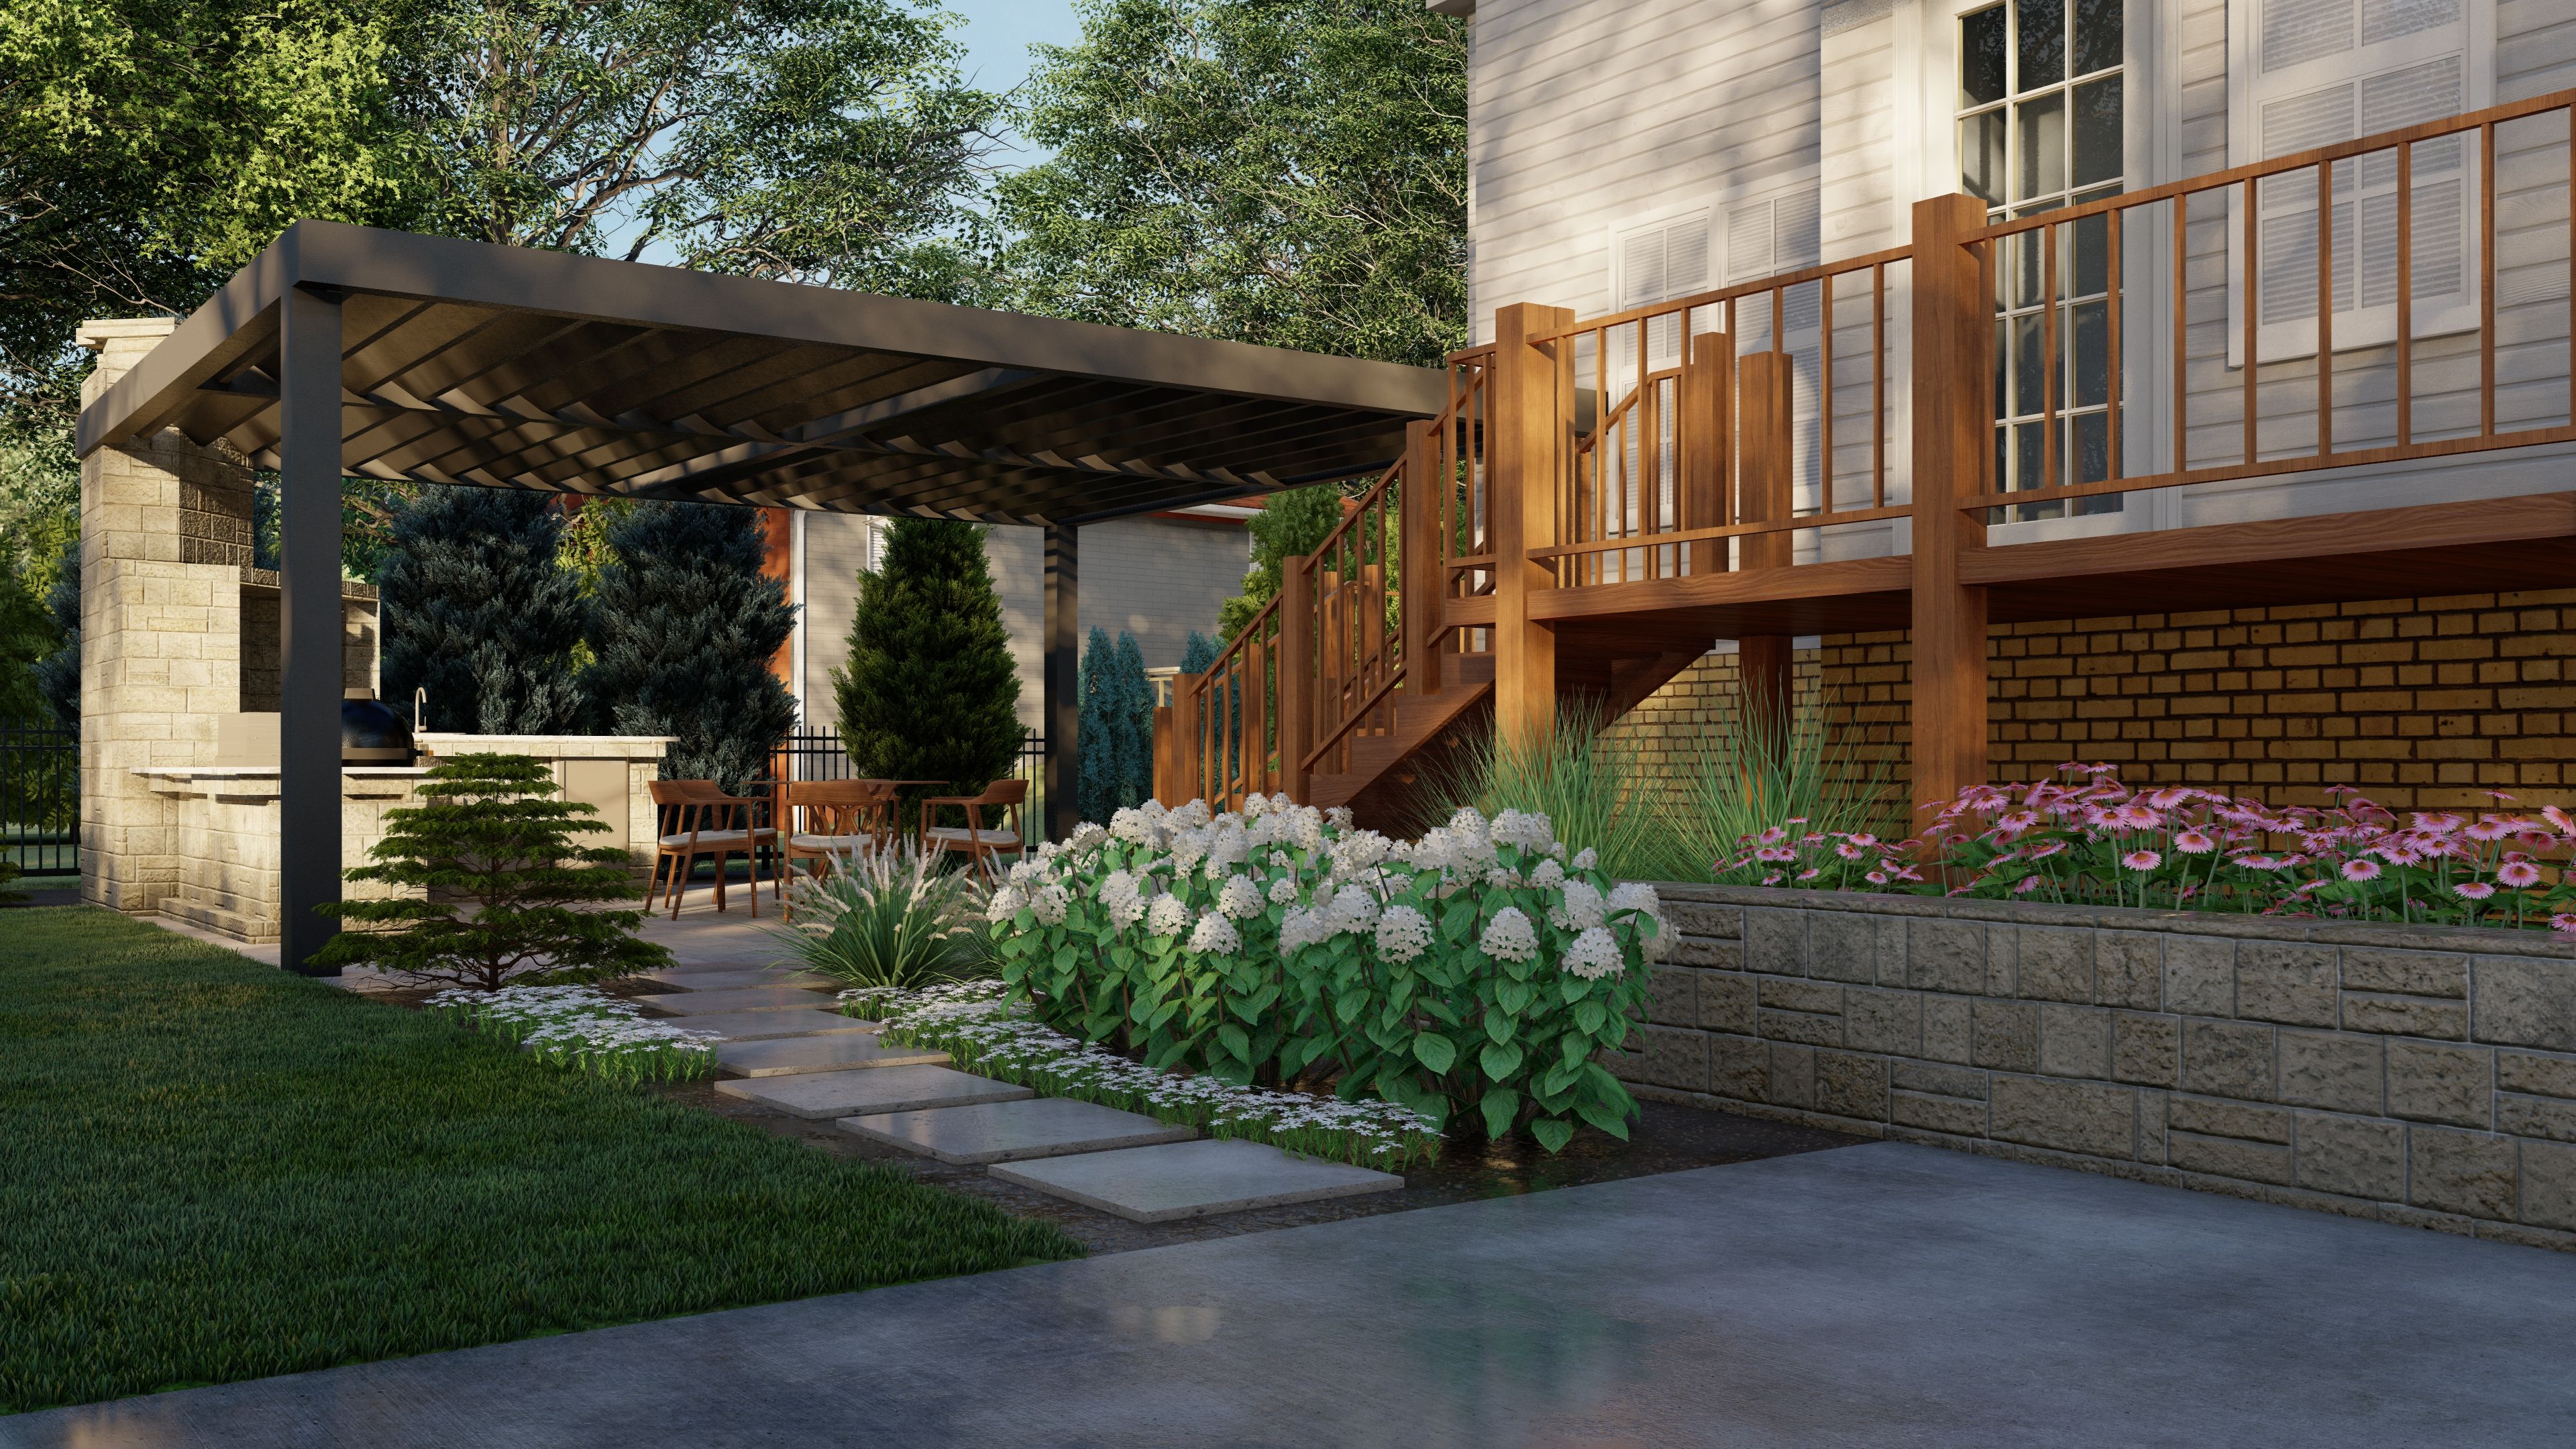
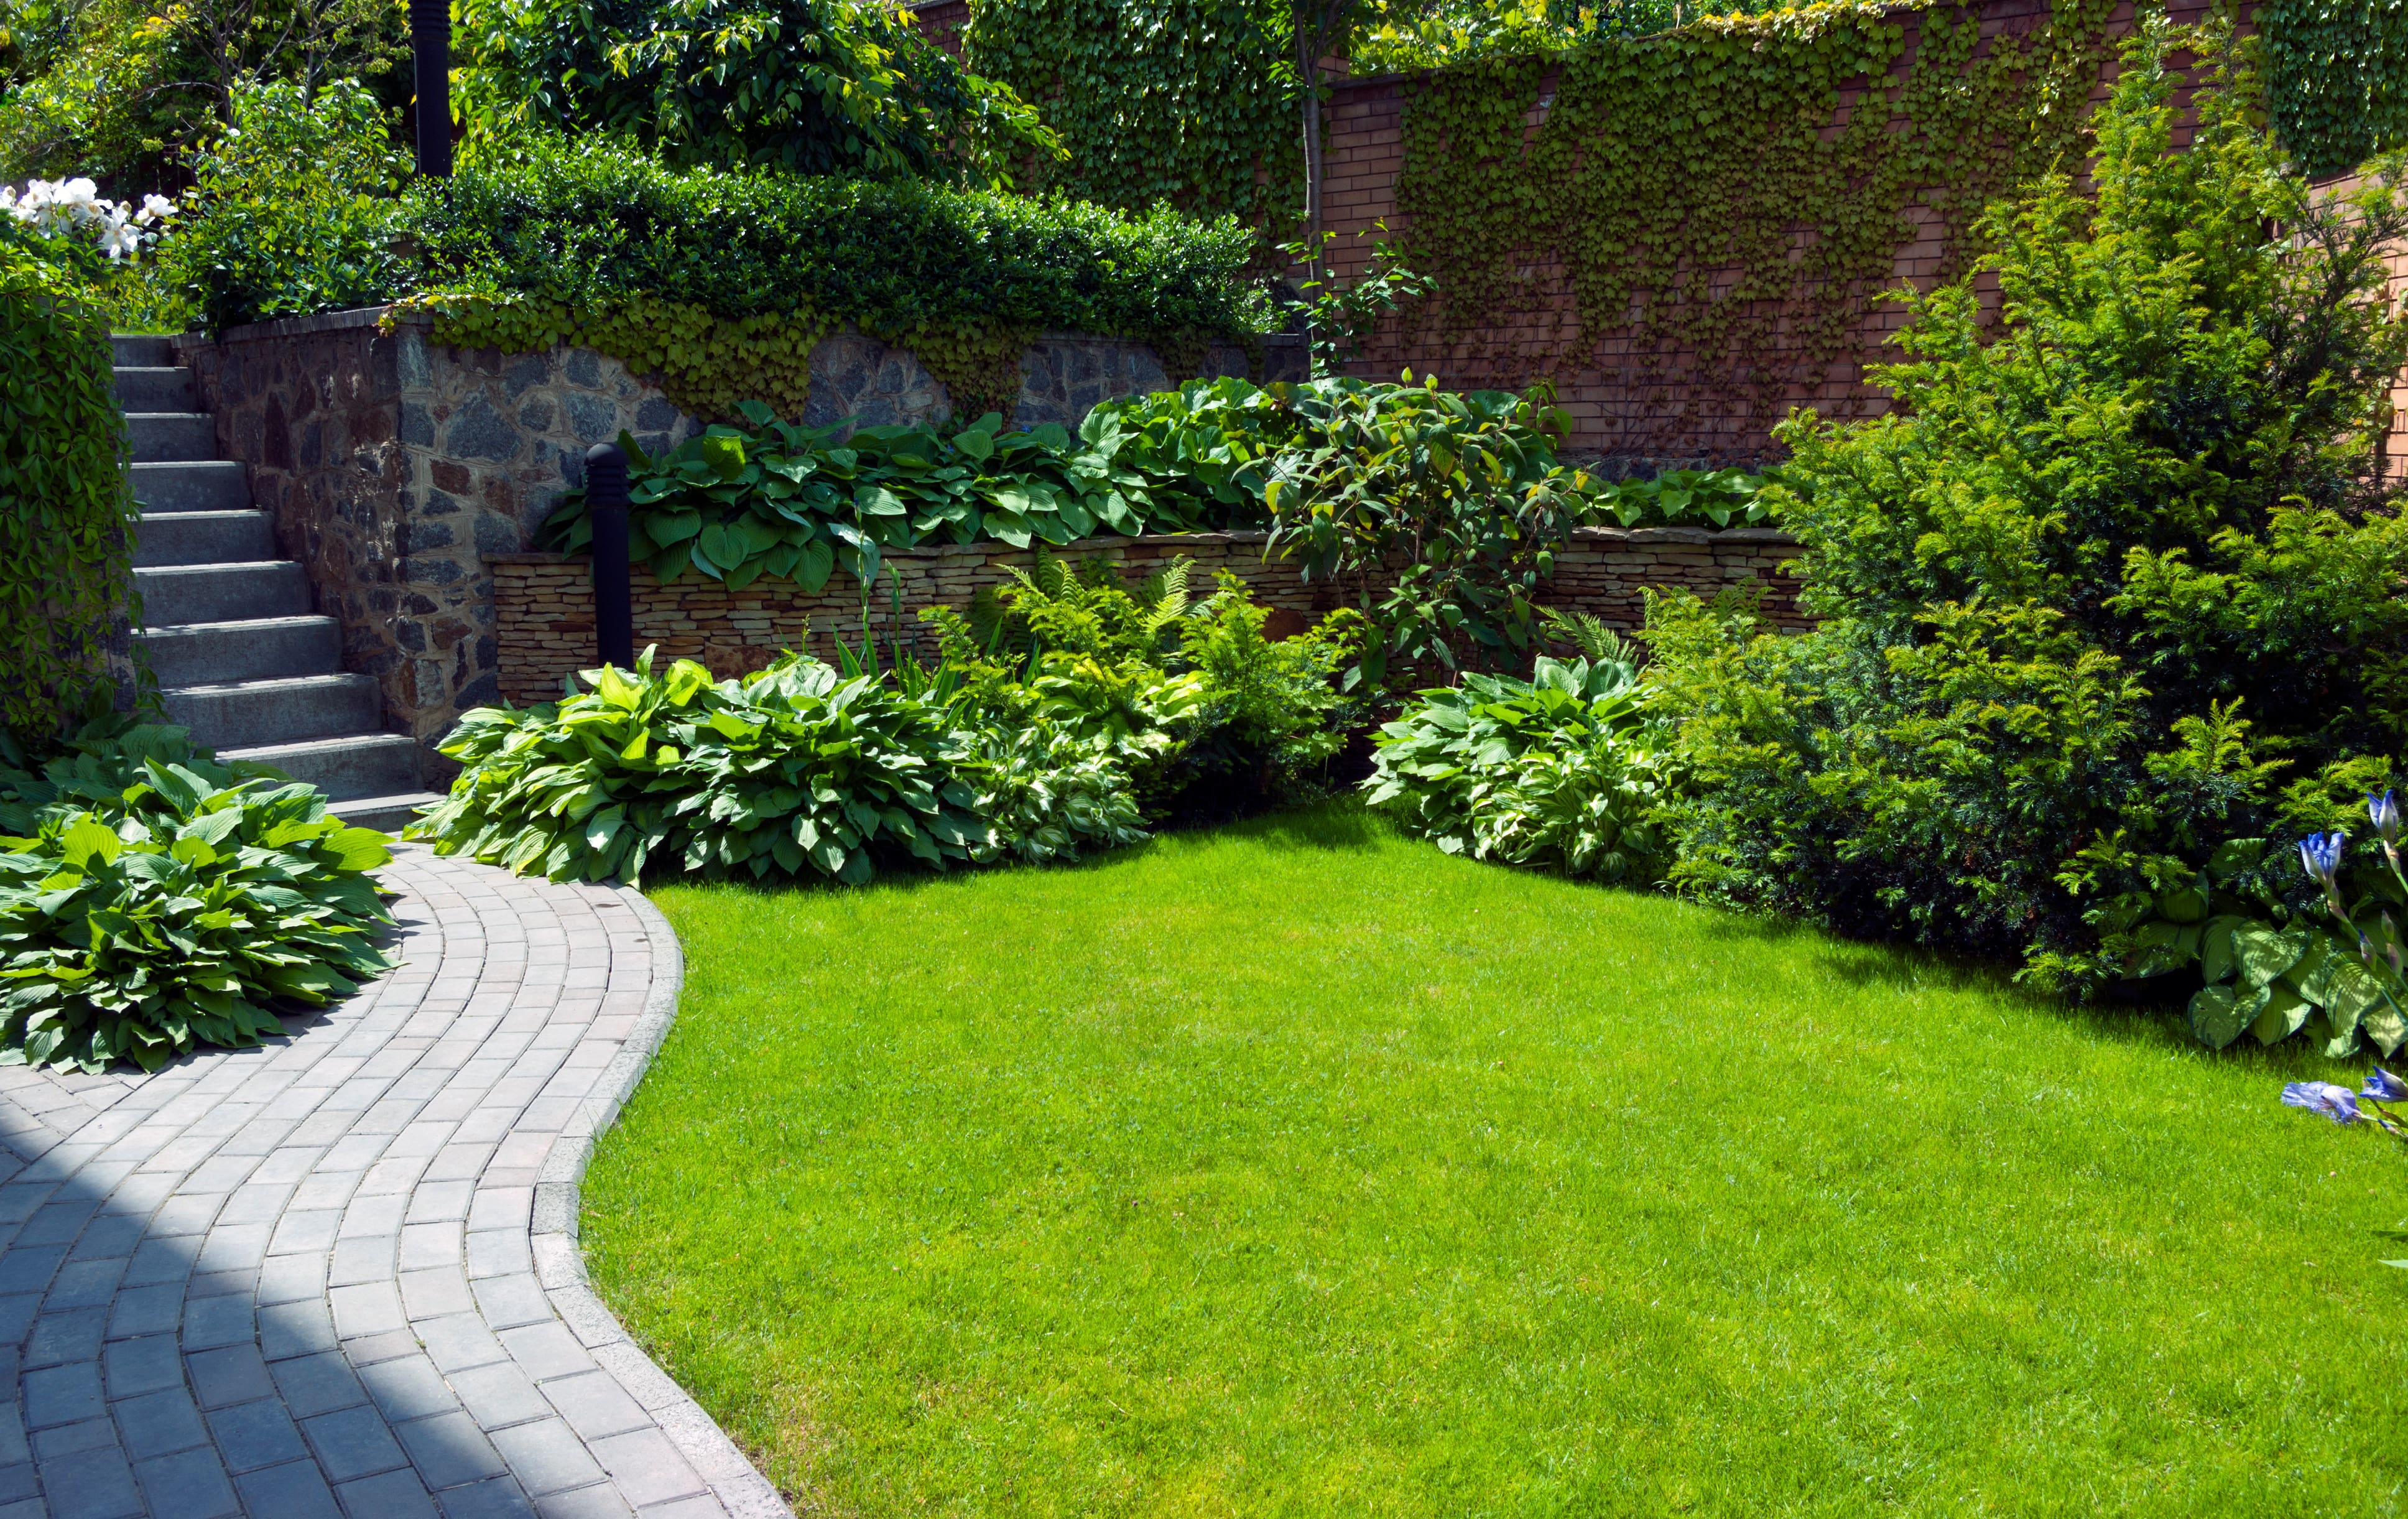
Designing a flower bed is a rewarding do-it-yourself project that can transform your outdoor space. Whether you have a large space with room for multiple gardens or a small backyard ready for something more compact, a well-designed flower bed adds beauty and enjoyment. In this guide, we will provide a step-by-step process for designing and planting a flower bed. Read on for more information.
Join our Newsletter
Sign up for our email list to receive exclusive promotions and landscape design inspiration.
Design Your Own vs. Purchase a Pre-Designed Bed?
Designing your own flower garden offers numerous benefits. Firstly, you can exercise your creativity and express your personal style. Designing a flower bed from scratch also provides an opportunity to learn about different plant species, growth requirements, and aspects of design. However, this can also be overwhelming and time consuming.
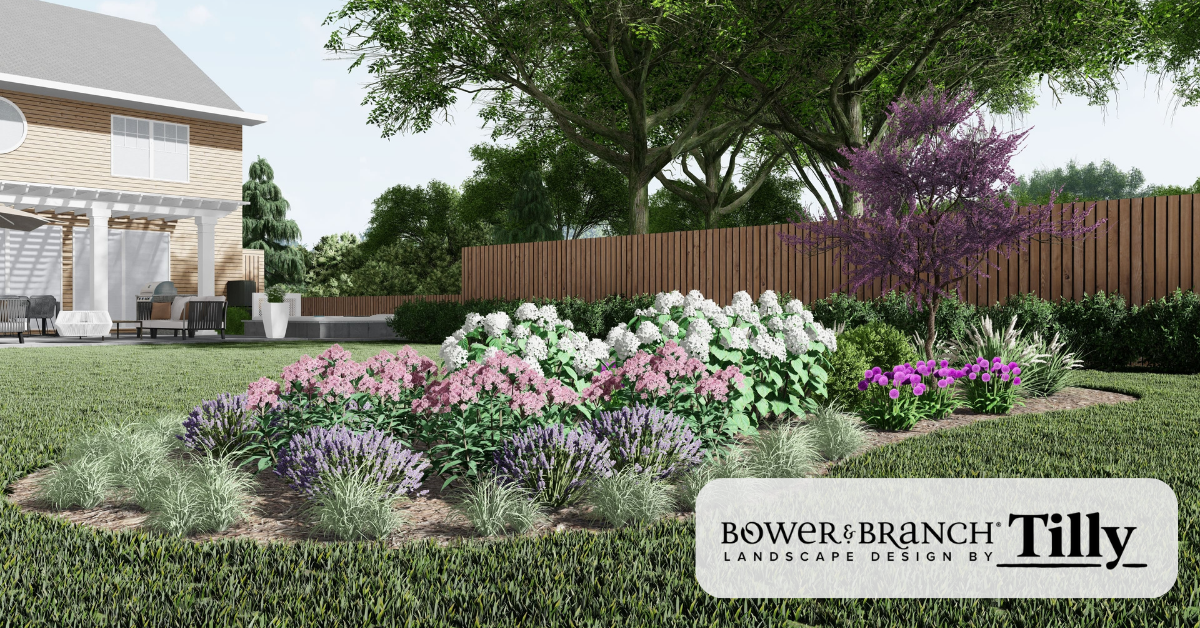
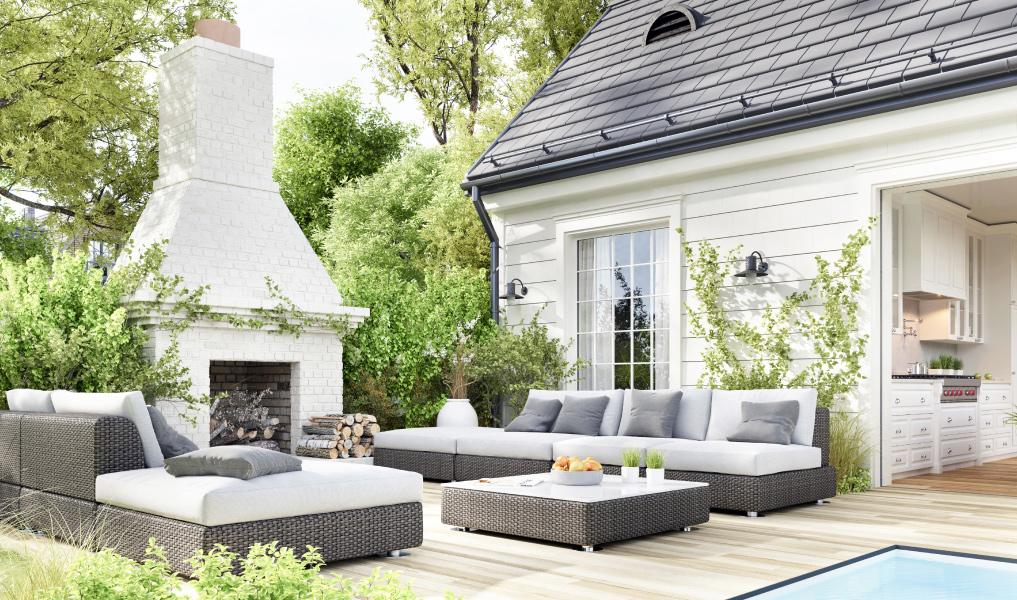
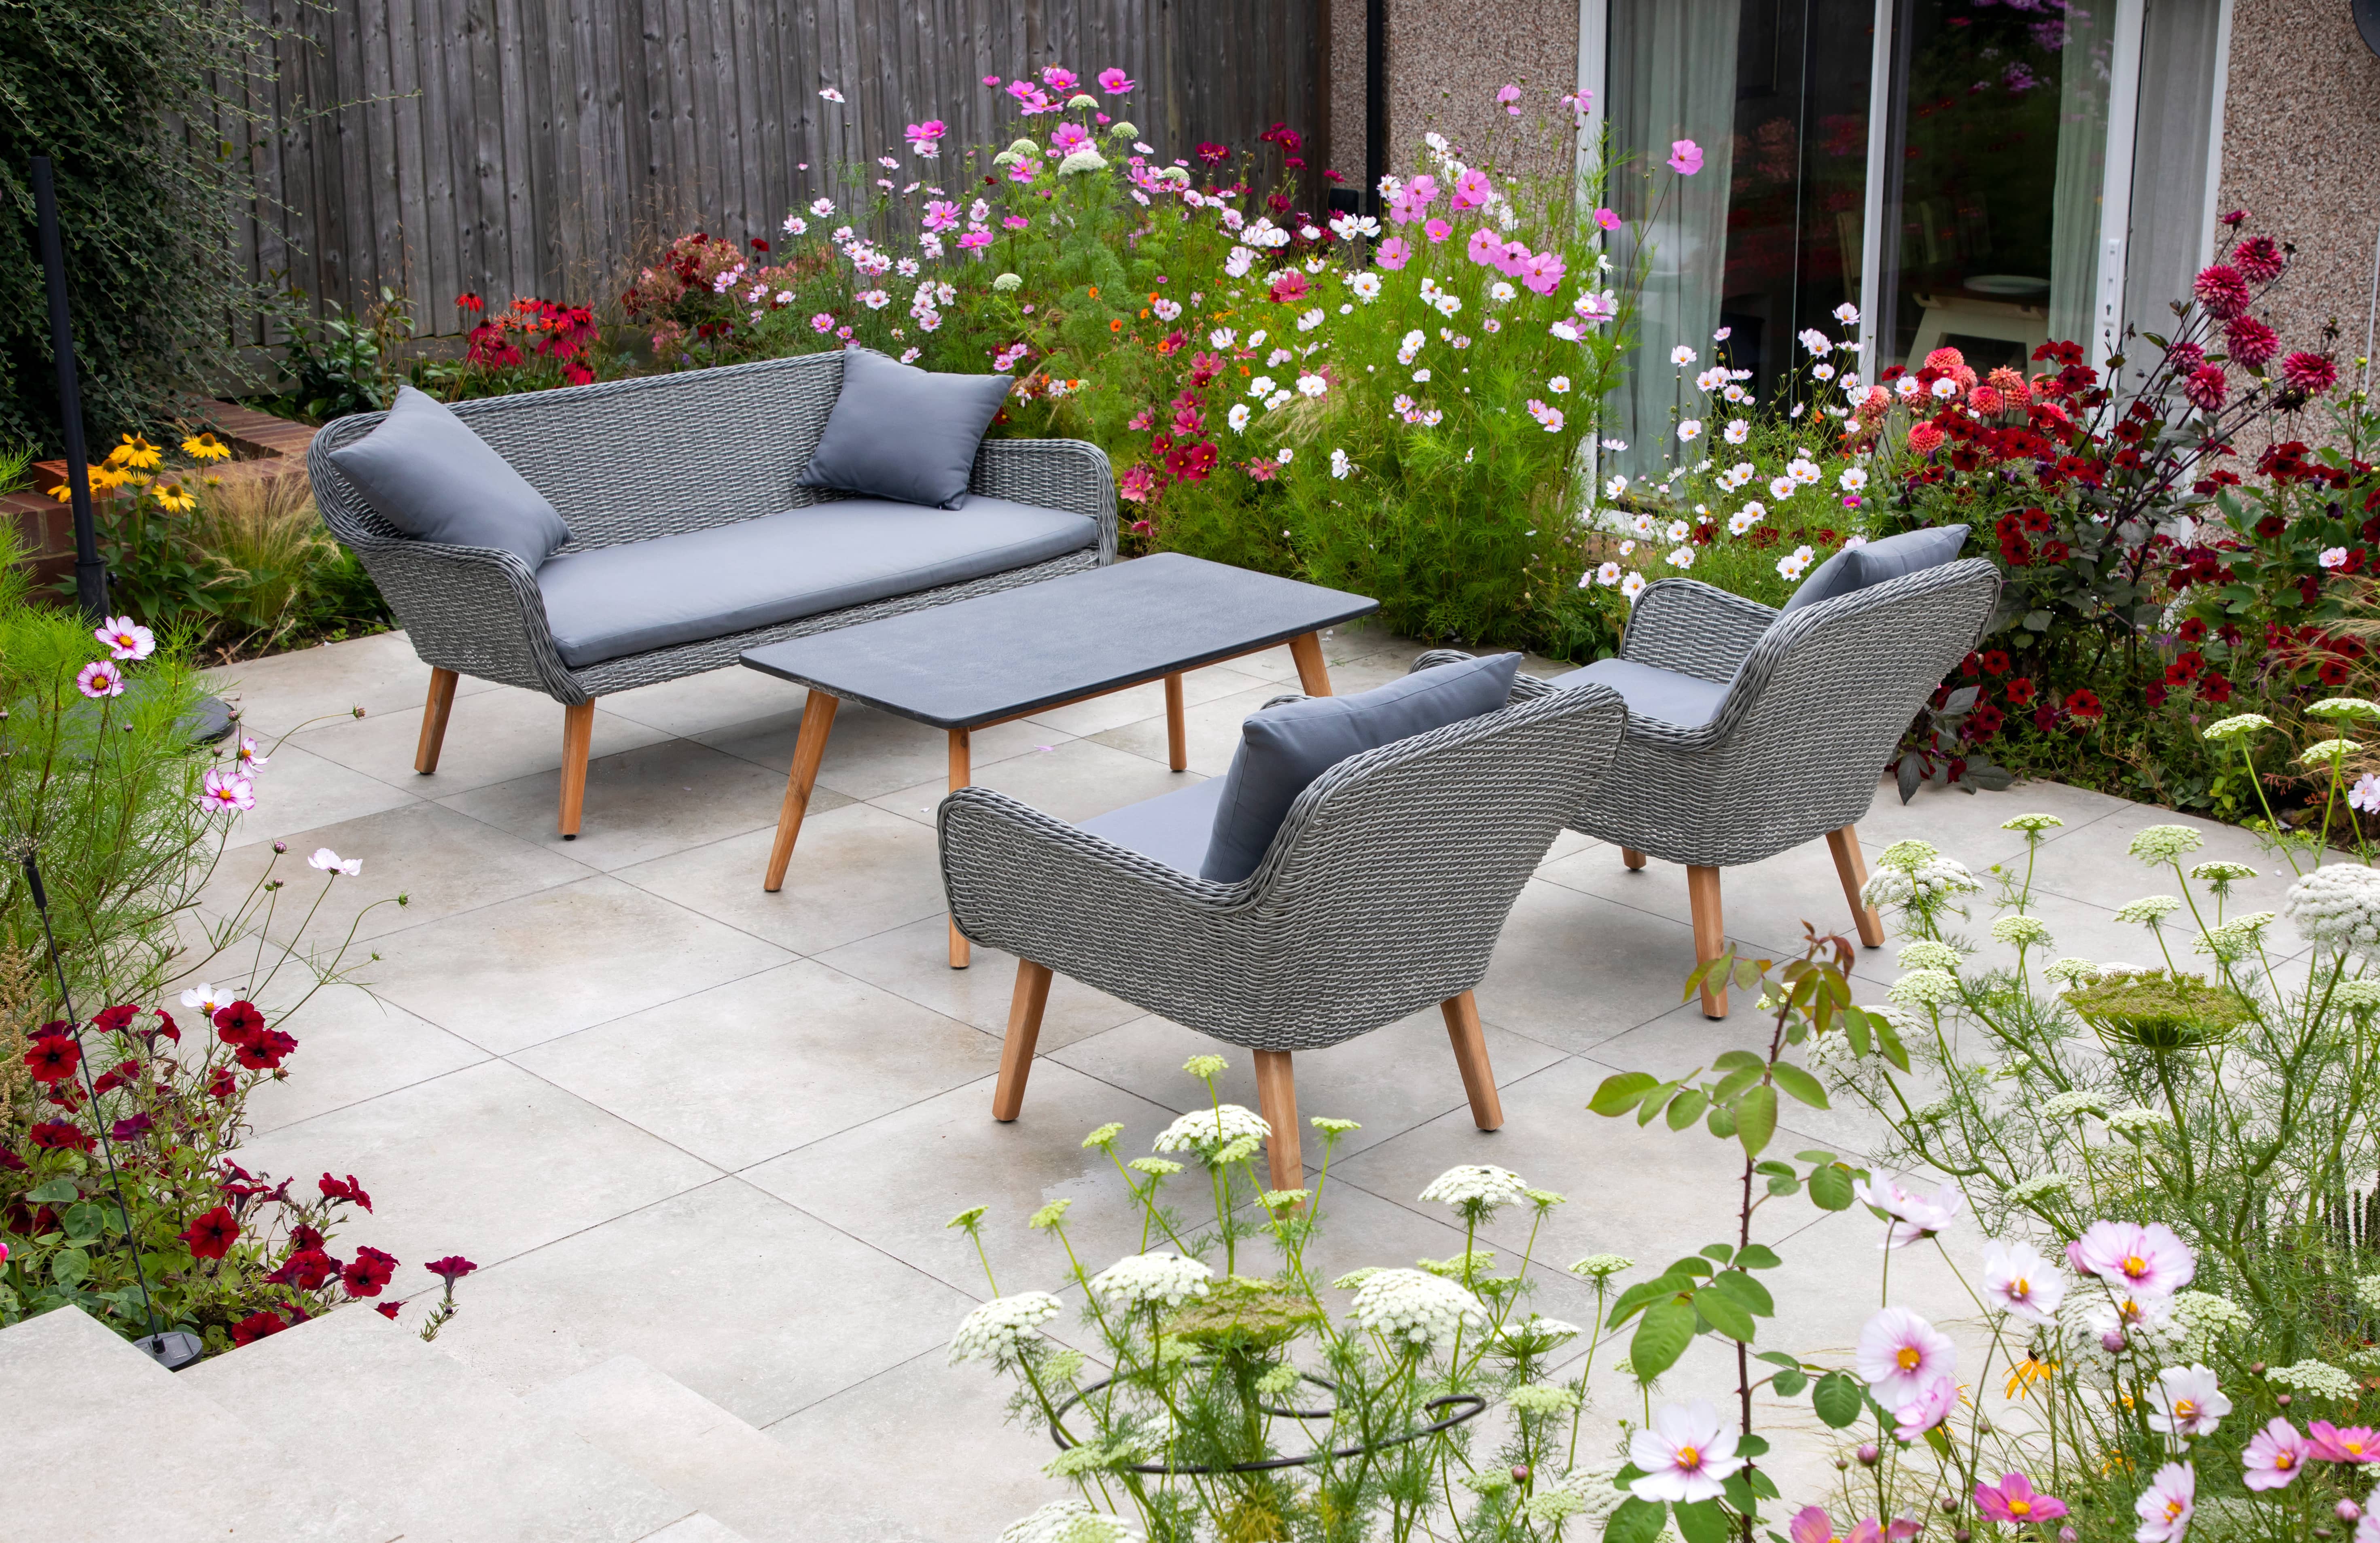
If you are looking for a faster option, Tilly has teamed up with Bower & Branch, the premier destination for exceptional trees and plants, to design the perfect garden bed, complete with the design plans and plants delivered to your curb! The talented team at Tilly has created two beautiful design plans for your garden - one against a fence or wall and one floating garden so it can be adapted to your unique space. It's the perfect garden to fill a 150 - 200 square foot bed in your yard. The trees, plants and shrubs are all low maintenance options with lots of seasonality, ensuring colorful interest year round and are selected specifically for your climate and location.
While designing your own garden bed is empowering and fun - it can be complicated. This garden bed product is perfect for someone who wants to get their hands dirty, but also wants the design plan from the pros.
Now, onto our pro tips for creating your own custom garden.
Step 1: Planning Your Flower Bed
A well-thought-out plan is the foundation of a successful garden design. This step involves careful consideration of various factors to ensure that your garden not only looks visually appealing but also thrives in its designated space. Let's explore the key aspects of planning your flower bed:
Assessing your space and location
When planning, start by assessing the available space and its specific characteristics. Consider the size, shape, and layout of the area. Take note of any existing structures, trees, or other landscape features that might impact the design or conditions.
Determining the purpose and theme of your flower bed
Clarify the purpose and theme to guide your design decisions. Is this a front yard garden for curb appeal? Or a backyard garden to provide beauty when relaxing on the patio? Consider the overall aesthetic you wish to achieve, whether it's a cottage garden, a minimalist design, or a specific color scheme.
You can also design your garden with function in mind. Are you looking to attract pollinators, butterflies, or provide cut flowers? Understanding the purpose of your garden beds will help your direction.
Considering sunlight and soil conditions
Sunlight and soil conditions play a crucial role in determining the success of your flower bed. Do you have direct sunlight? Partial sun? Take note of the sunlight exposure because different plants have varying light requirements, which is vital when choosing the correct plants!
Soil quality is equally important. Evaluate the soil type, drainage capabilities, and fertility of your garden bed. Conduct a soil test to determine the pH level and nutrient content (more on this below). This information will help you select plants that thrive in your specific soil conditions.
Taking measurements and sketching a layout
Accurate measurements and a well-thought-out layout are essential for creating a beautiful, seasonal and functional design. Measure the dimensions of your space, noting any existing features such as paths or borders. This will help you determine the size and shape of your flower bed and plan the arrangement of plants and other elements.
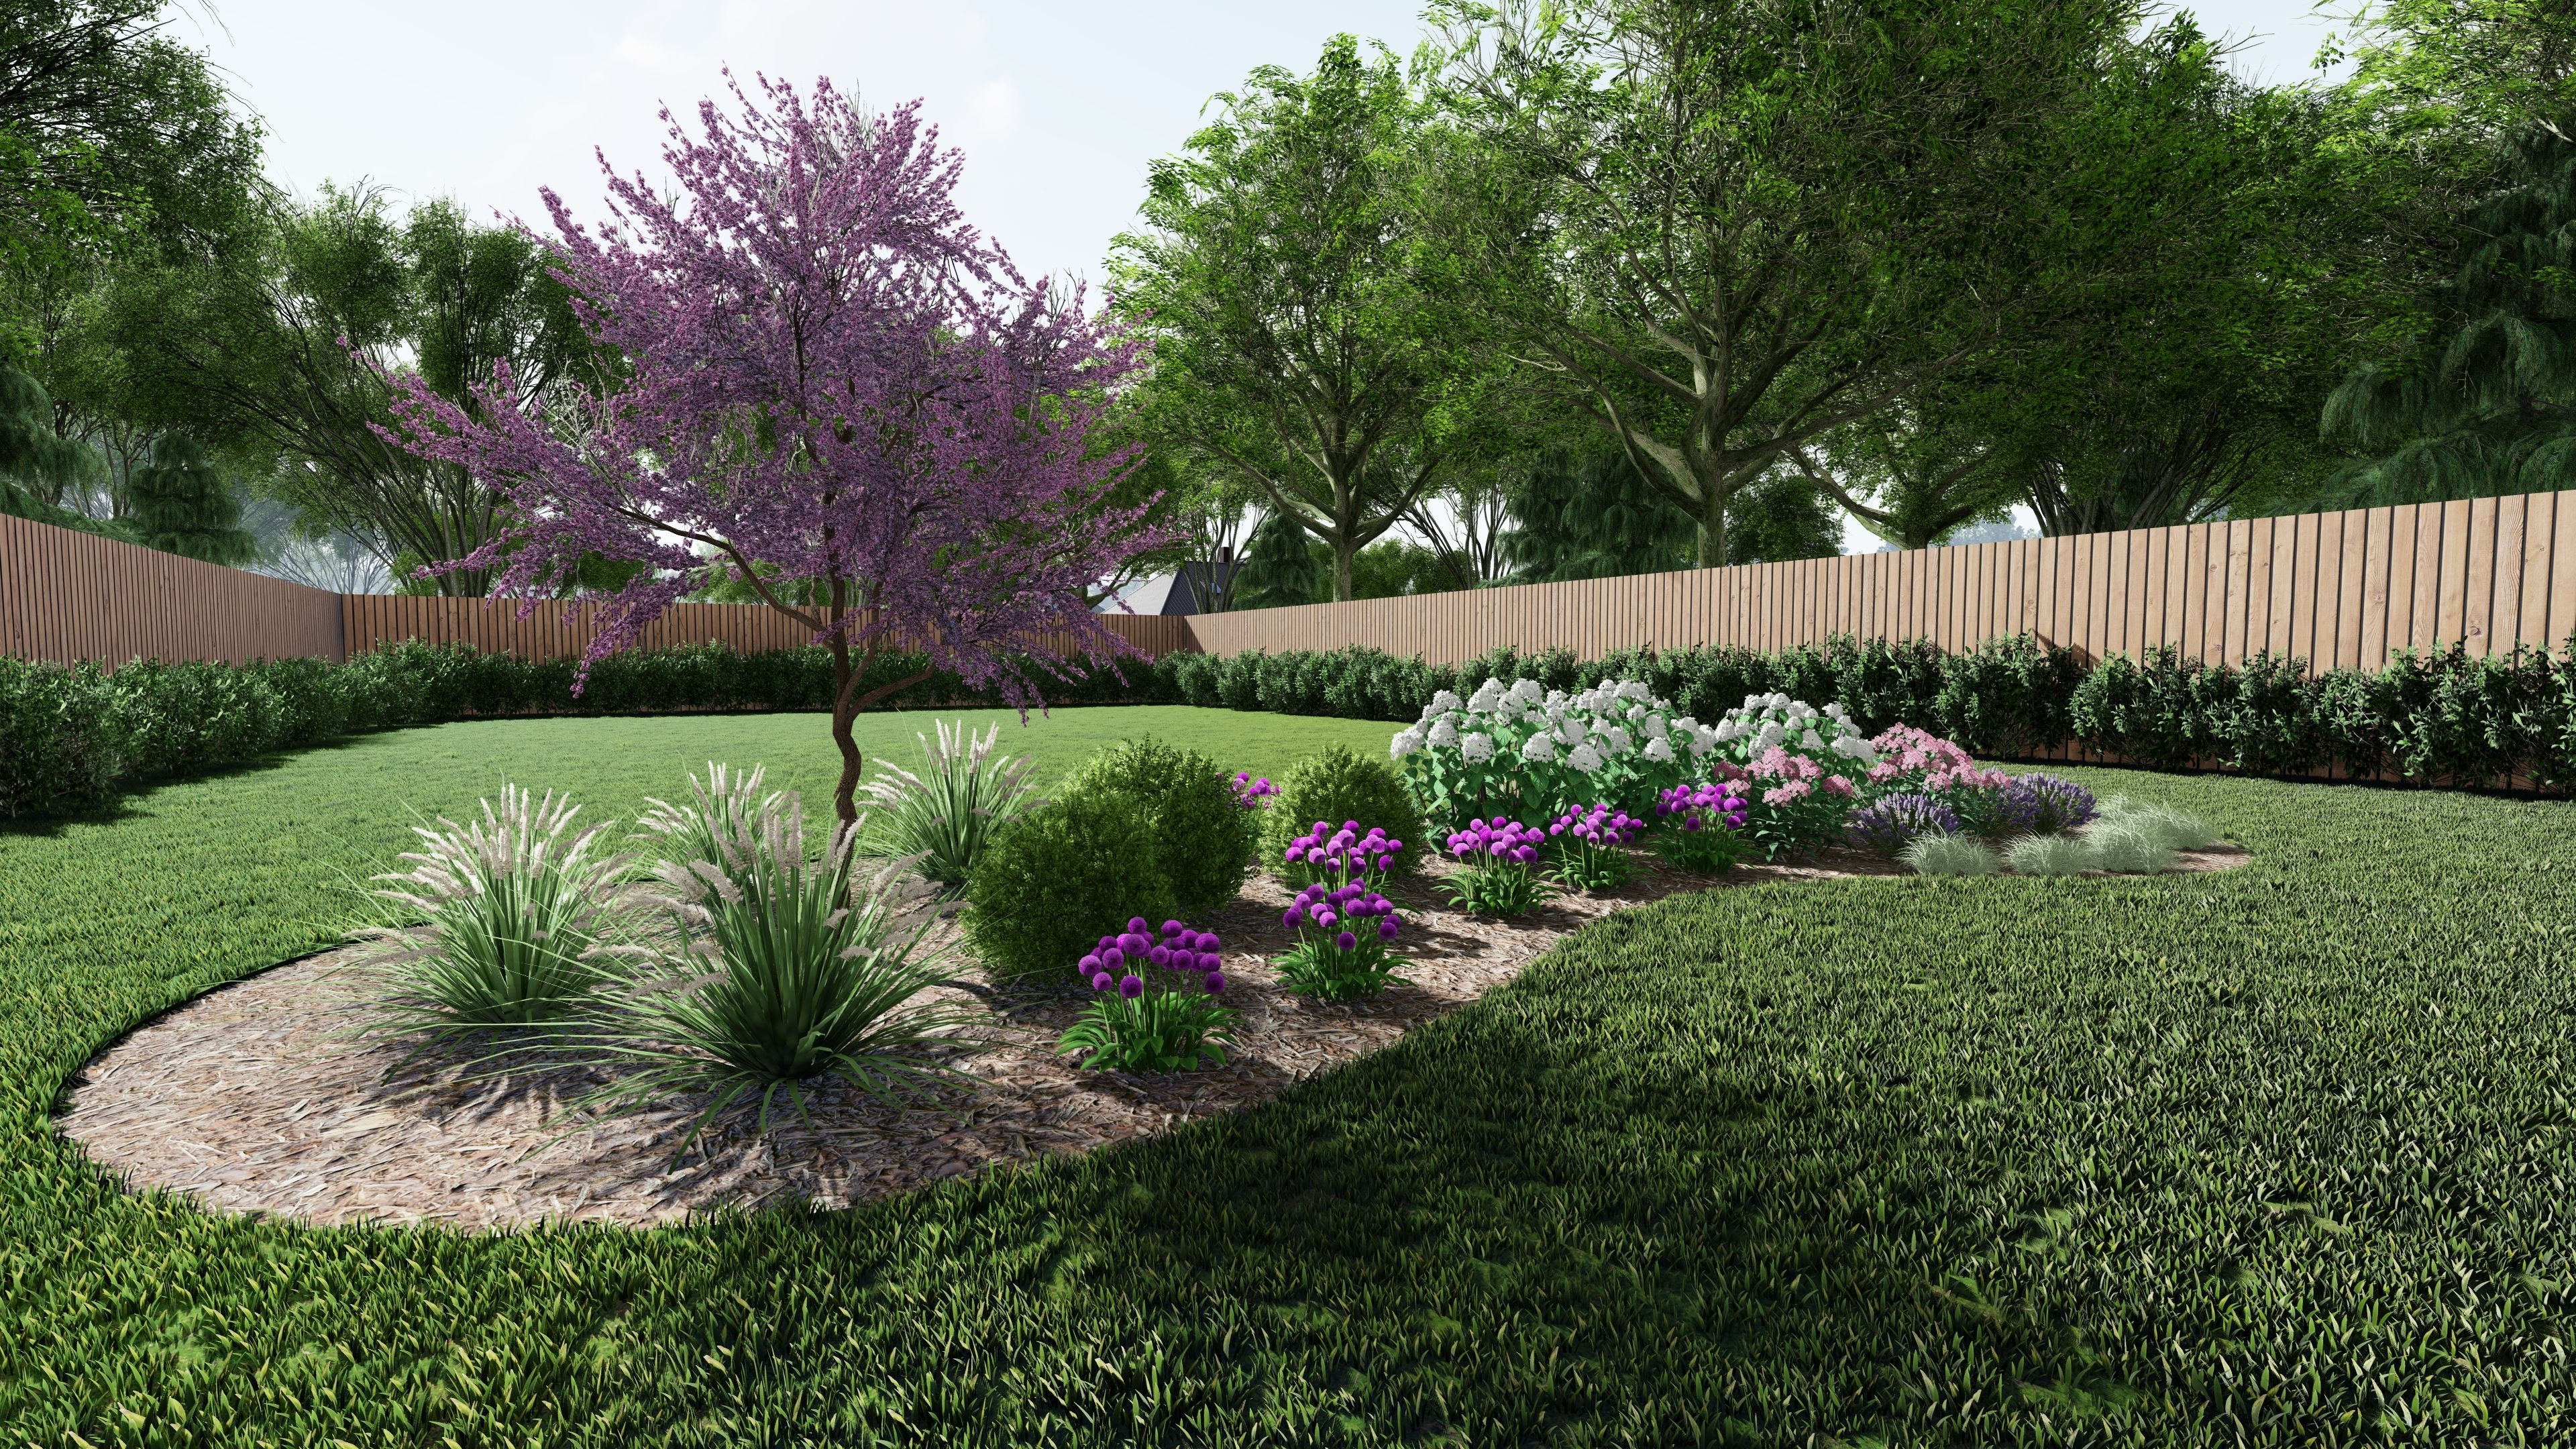
Consider creating a rough sketch to visualize the layout. Experiment with different configurations, taking into account plant heights, the mature size of the plant, color combinations, and any focal points you want to incorporate. A well-designed layout will ensure that your garden looks balanced and harmonious.
Step 2: Choosing the Right Plants
Selecting the right plants is critical. Each plant brings unique attributes, including height, color, texture, and fragrance, to contribute to the overall look. Here are key considerations to keep in mind when choosing plants, trees and shrubs for your space:
Researching and selecting plants & flowers
Focus on plants that thrive in your climate. Check your hardiness zone so you can chose plants that fit the conditions you need to set yourself up for a successful garden. Focus on native plants, which are proven to do well in your location and will benefit the local wildlife and pollinators.
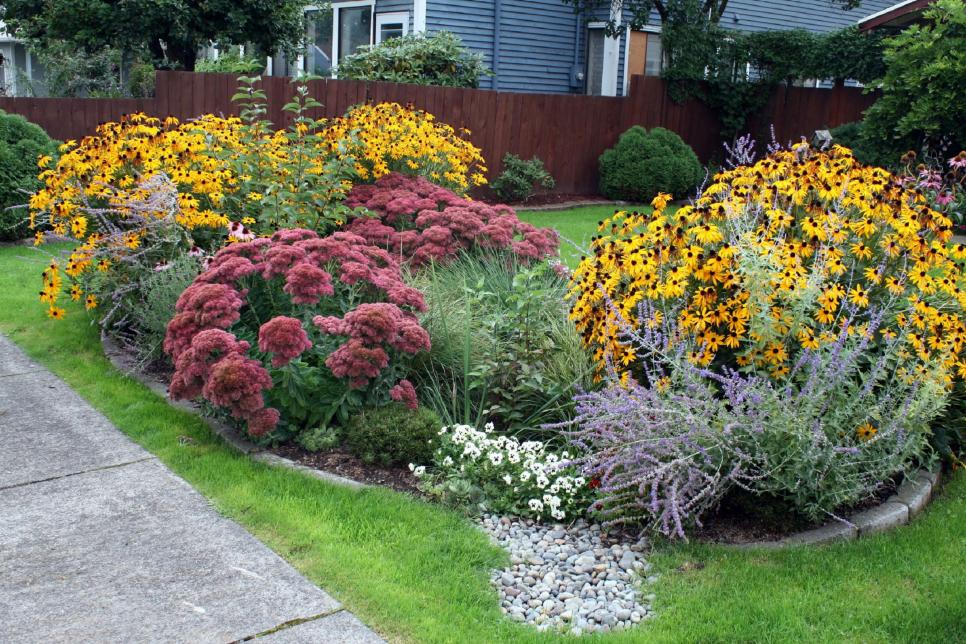
Considering bloom time and seasons
To create a garden that offers year-round interest, select plants that bloom at different times throughout the seasons. Choose a mix of early bloomers, mid-season bloomers, and late bloomers to ensure that you have flowering plants at different times from spring to fall. You'll also want some evergreens included to add interest in the winter months.
Designing for your care requirements
Think about how much time you have to care for your garden. If you prefer a low-maintenance yard, choose plants that are known for their durability and minimal care requirements.
Join our Newsletter
Sign up for our email list to receive exclusive promotions and landscape design inspiration.
Step 3: Preparing the Soil
Before you start planting flowers, shrubs and trees, it's crucial to prepare the soil to create an optimal growing environment. Proper soil preparation ensures that your plants receive the necessary nutrients, water, and aeration for healthy growth. Here are the key steps involved in preparing the soil for your garden:
Testing soil quality and pH levels
Conduct a soil test to determine the quality and pH levels of your garden soil. Soil testing kits are readily available at your local garden center or can be ordered online. The test results will provide valuable information about the nutrient content, organic matter, and pH level of your soil.
Amending soil with organic matter
Based on the soil test results, you may need to amend your planting bed to improve its fertility and structure. Adding organic matter such as compost can enhance the soil's nutrient content, water-holding capacity, and overall health. Work the organic matter into the top few inches of the soil.
Removing weeds and preparing the bed for planting
Clear the flower bed area of any existing weeds, grass, or debris. This will reduce competition for nutrients and space, giving your flowers a better chance to thrive.
Once the area is weed-free, prepare the garden bed for planting by loosening the soil. This will involve shaking up the top few inches of your soil and will help promote healthy root growth and ensures good drainage for your plants.
Providing proper drainage and irrigation options
Adequate drainage is essential for the health of your garden beds. If your soil tends to retain water or becomes waterlogged, consider incorporating drainage solutions.
Additionally, plan for proper irrigation to ensure that your plants receive the right amount of water. New flower beds need to be watered regularly while they establish. Depending on the plants' needs and your preferences, you can choose between methods like hand watering, drip irrigation, or installing sprinklers.
Step 4: Arranging the Plants
Arranging the plants and flowers in your garden bed is like creating a living masterpiece. Strategic placement and thoughtful design can elevate the visual appeal of your garden bed. Here are key considerations:
Organizing plants according to height and structure
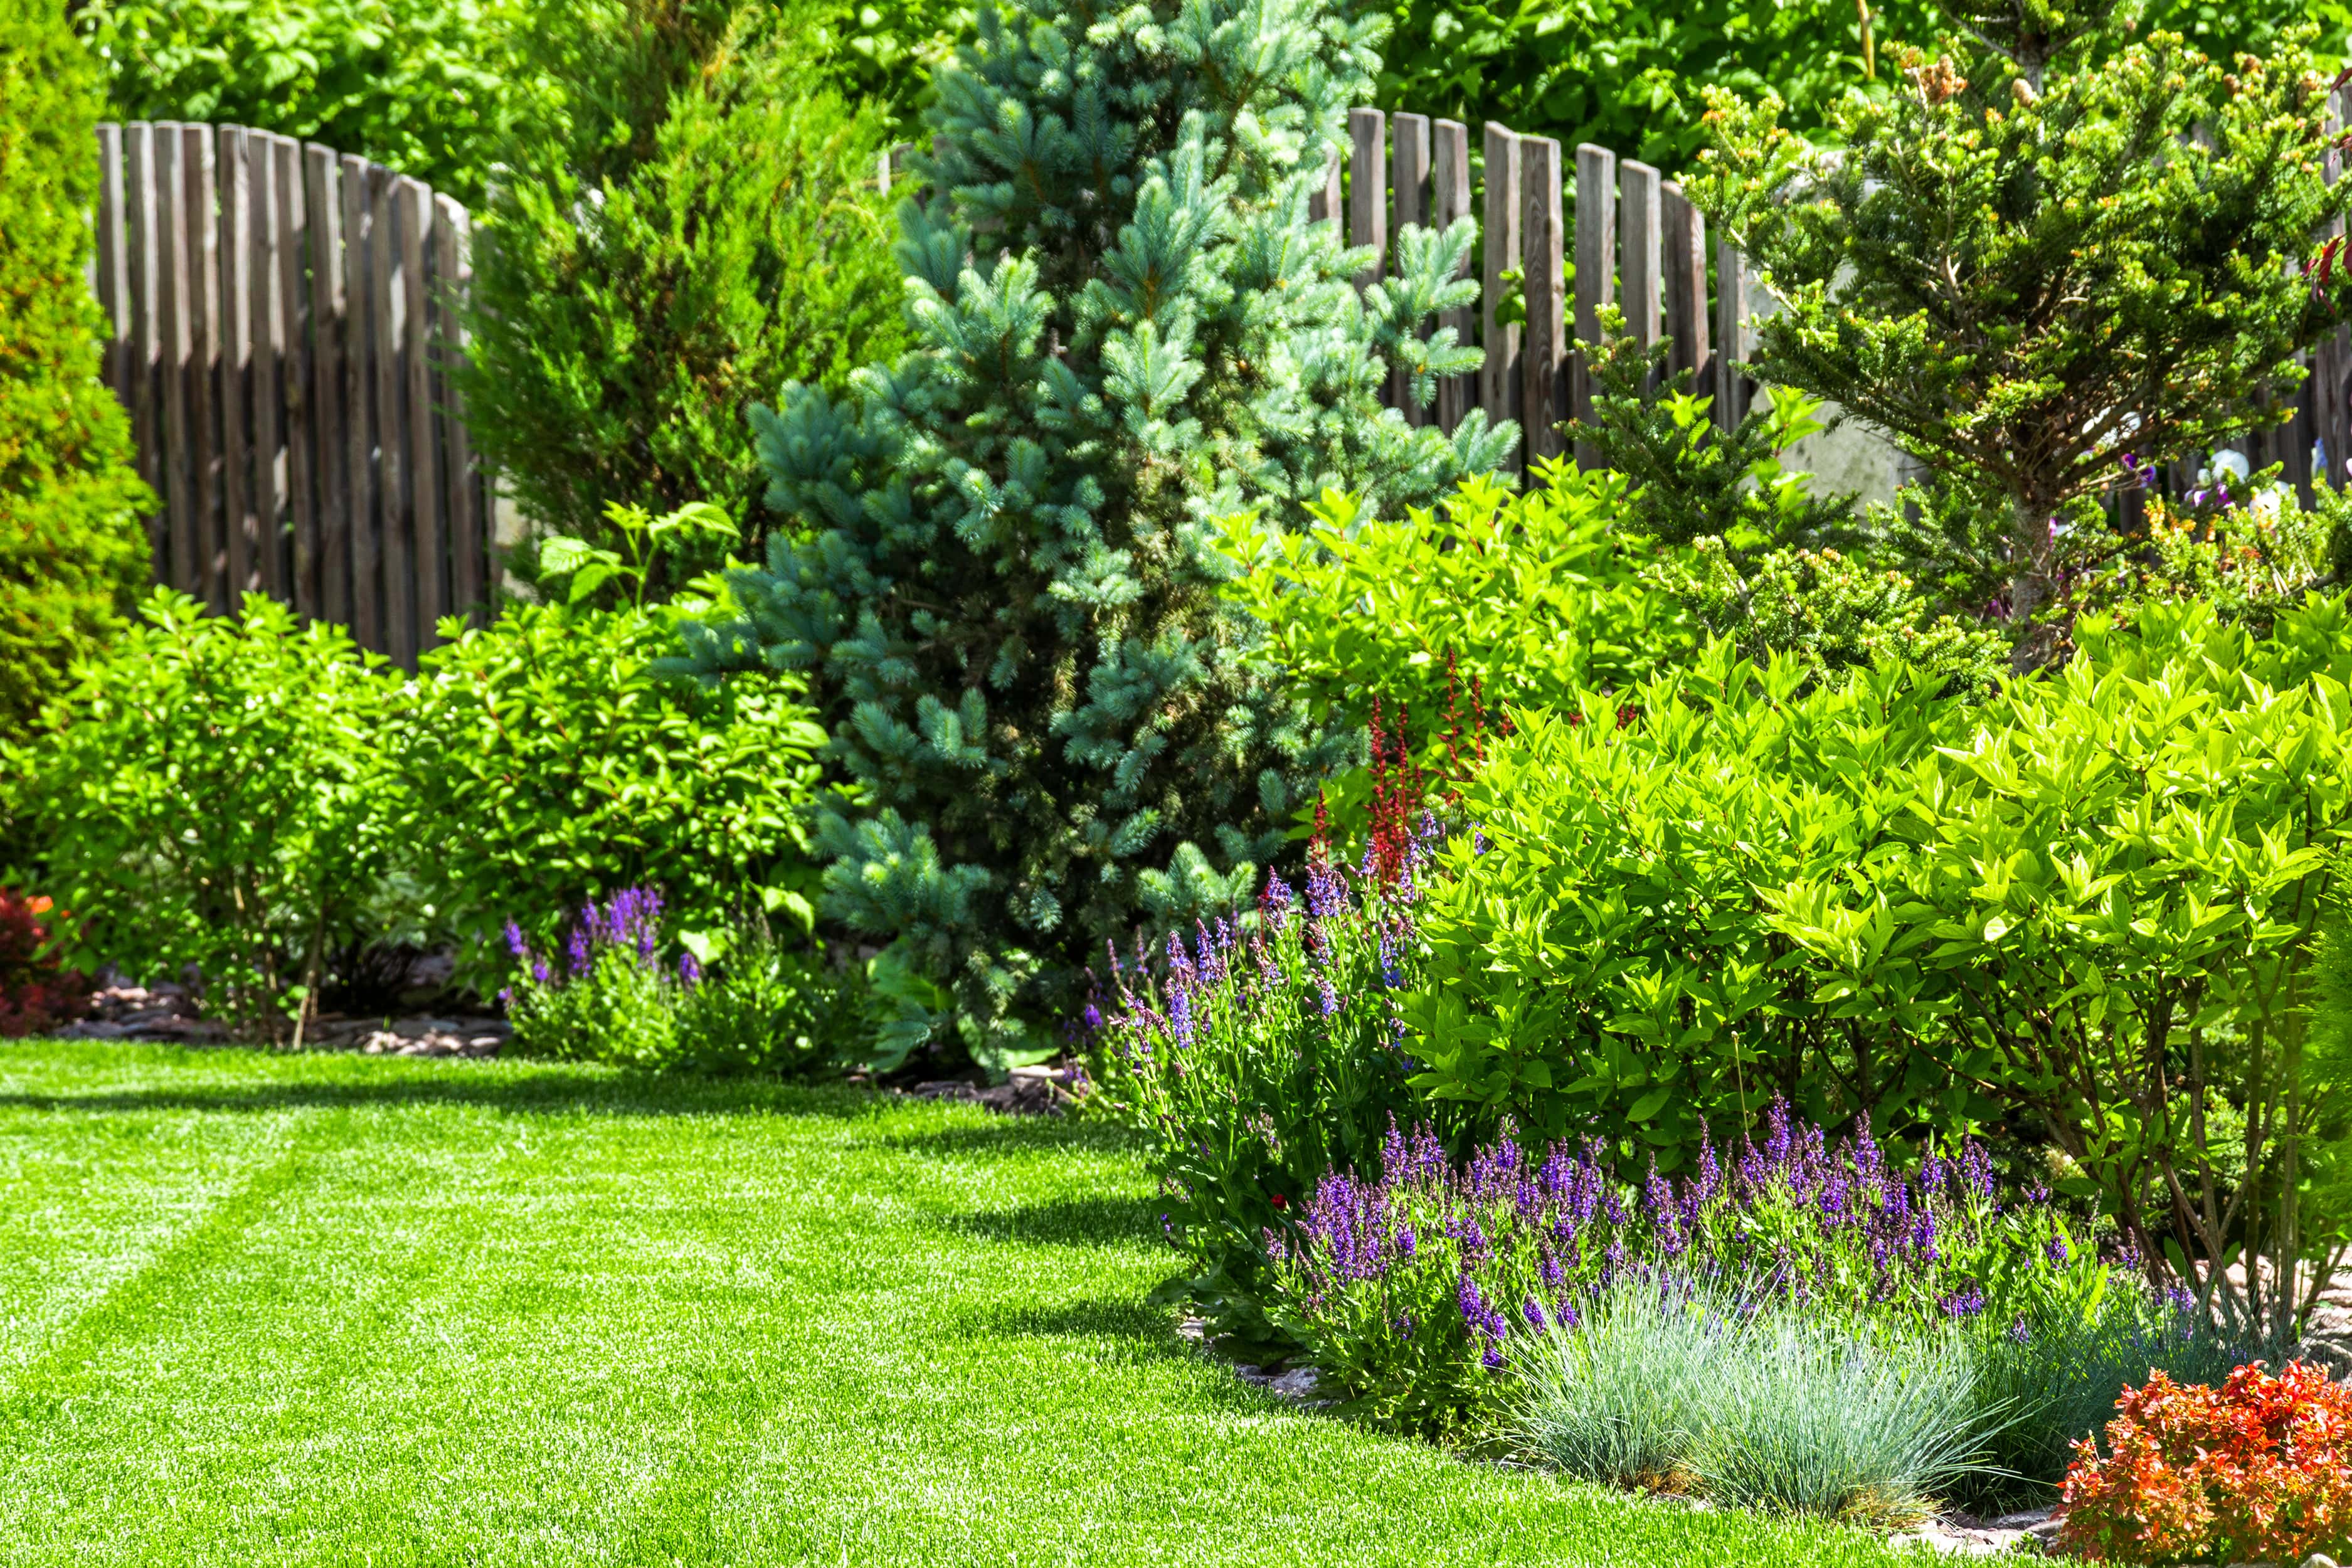
When planting flower beds, organize your plants based on their height and structure. Consider placing taller plants towards the back or center of the bed, gradually transitioning to medium-height and then shorter plants towards the front or edges. This arrangement provides a sense of depth and ensures that all plants receive adequate sunlight.
Additionally, take into account the growth habit and structure of each plant. Some plants have a more upright or columnar growth habit, while others may spread or cascade. Use these characteristics to your advantage, creating a beautiful mix of shapes and forms within your garden.
Evaluating height, color, and foliage variations
Consider the height of the plants you choose and how they will interact visually within your garden. You'll want a variety of heights so that you have a full looking garden bed.
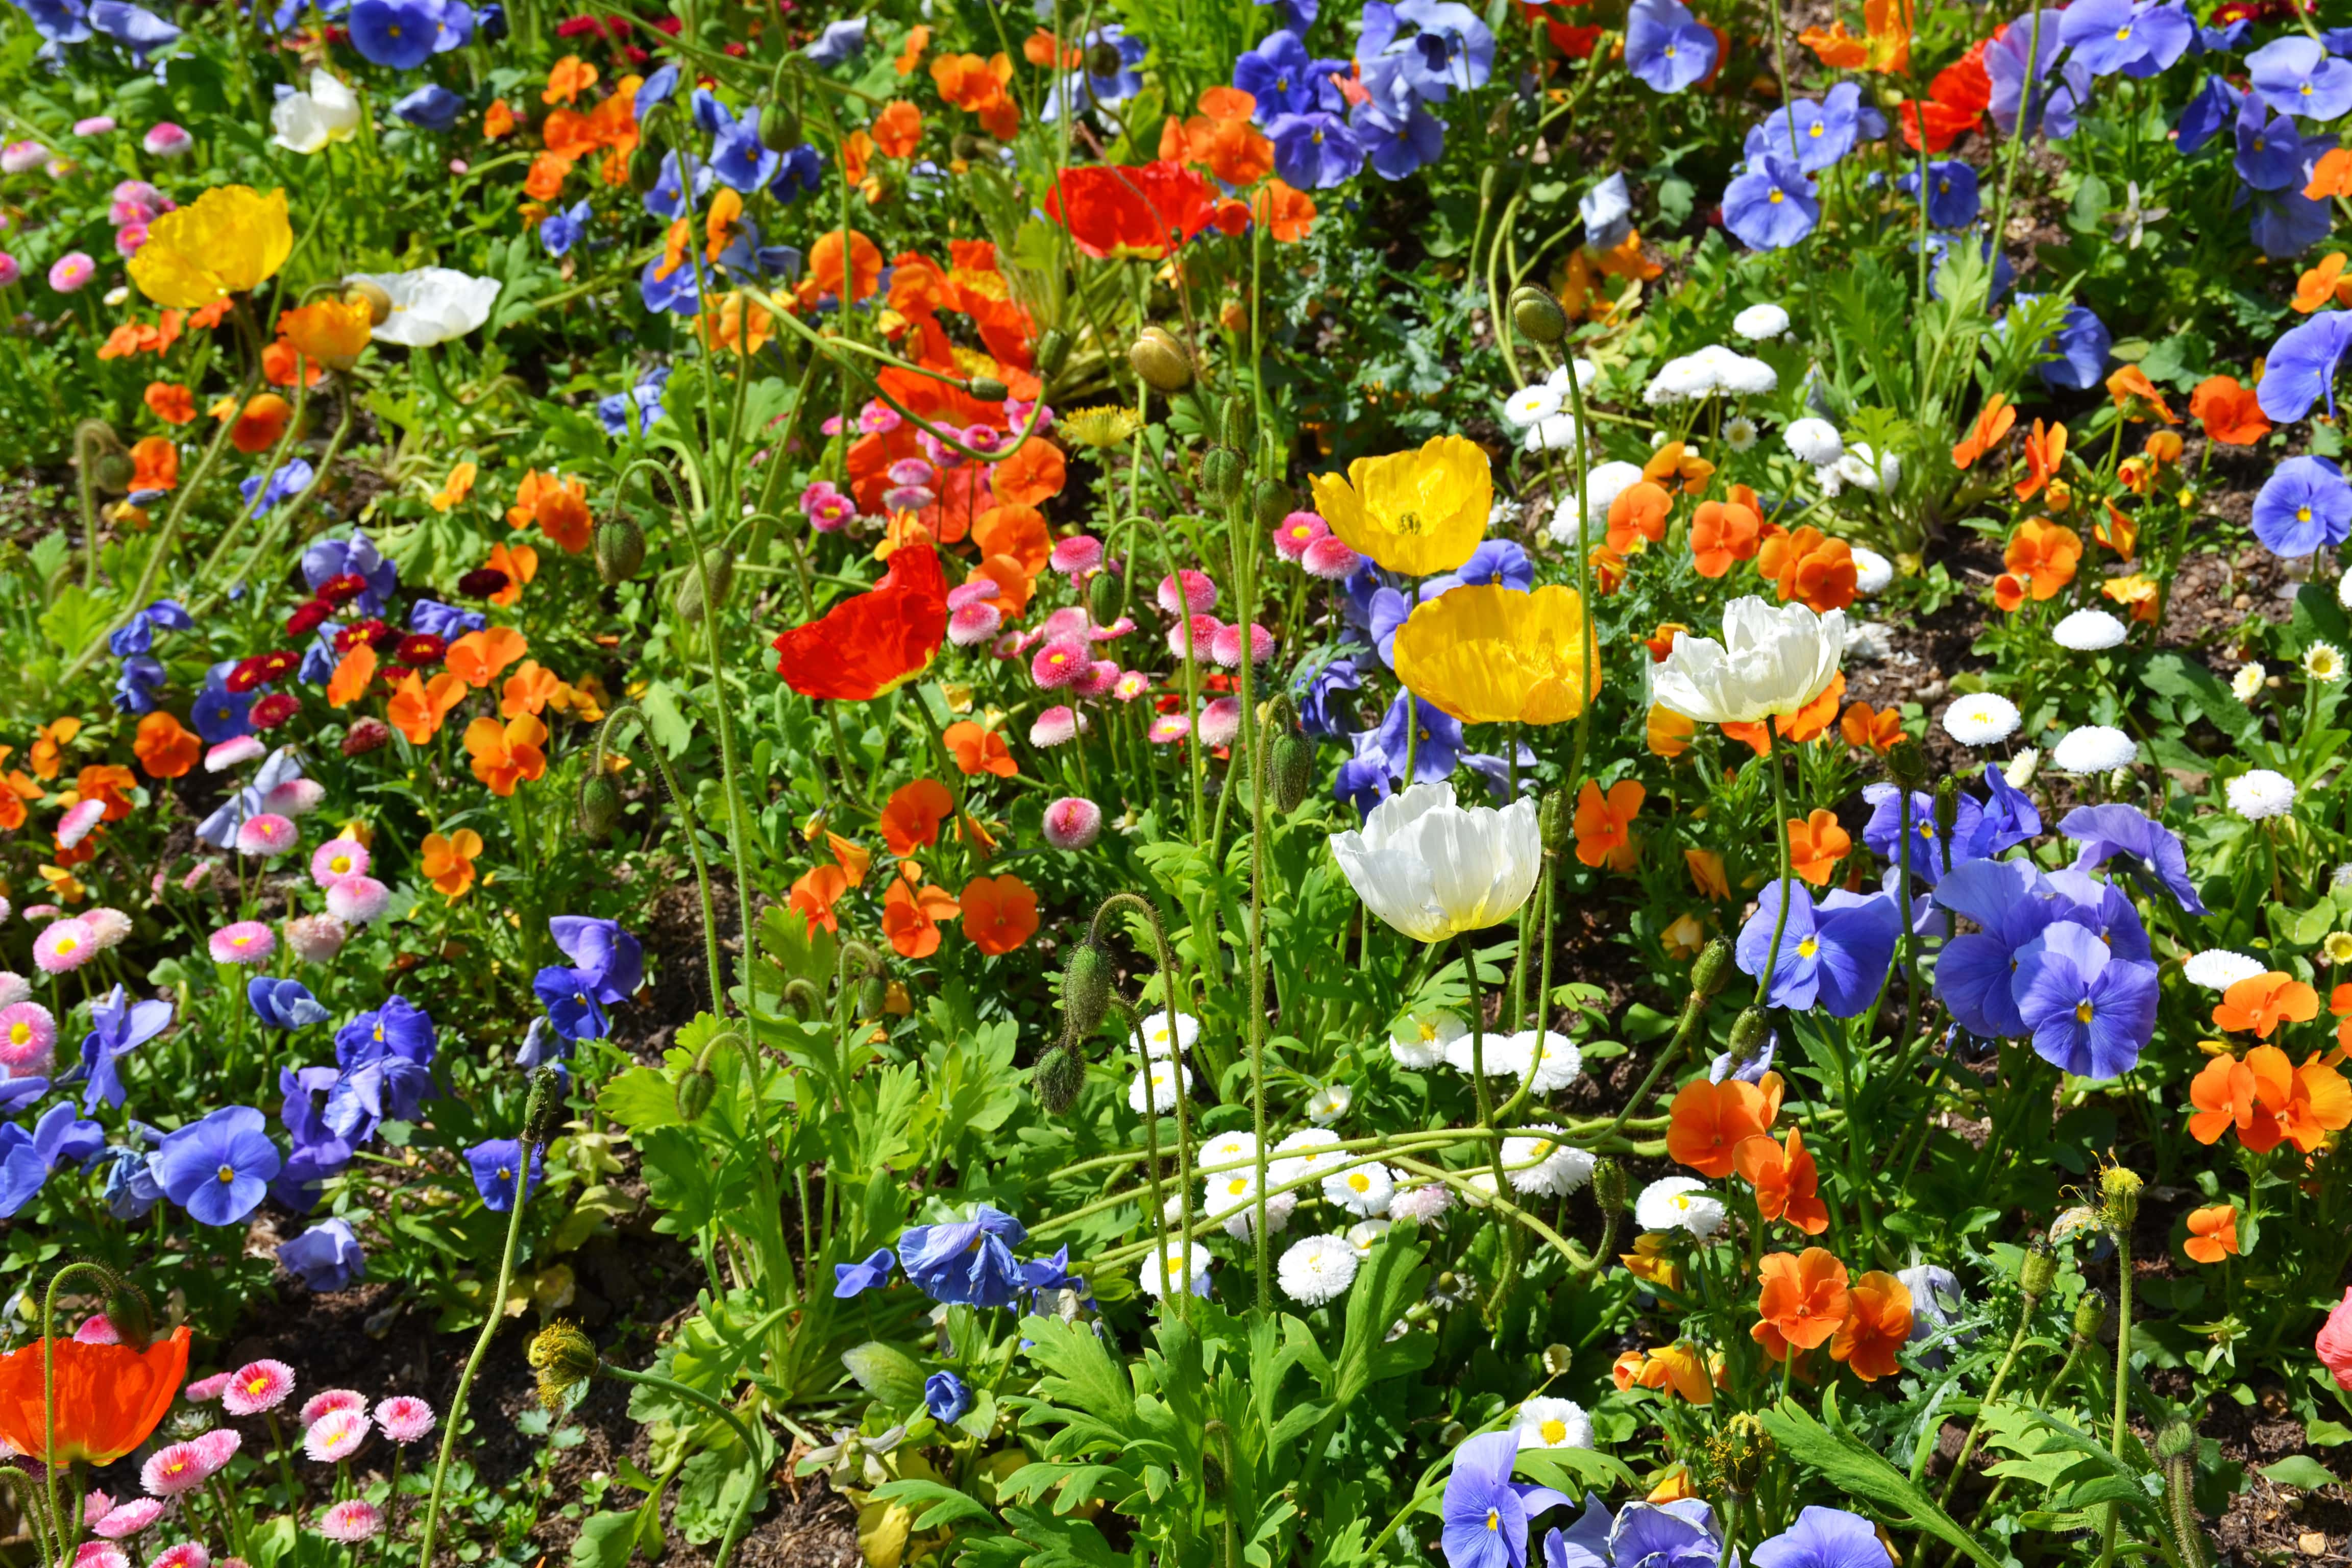
Color plays a significant role in the visual impact of your flower bed. Choose a color scheme that harmonizes with your overall garden design and personal preferences. You can opt for a monochromatic palette, where flowers of the same color or shades are grouped together, creating a serene and unified look.
Alternatively, create a vibrant display by combining complementary or contrasting colors. For example, pairing purples and yellows, pinks and blues, or oranges and blues can create a visually dynamic and eye-catching garden. Experiment with different color combinations to find the one that resonates with your desired aesthetic and surroundings.
You'll also want a variety of colors and foliage variation for dimensions an interest, unless your going for a more modern one-dimensional look (it's your garden, you can choose!). Choose plants with a different leaf shapes, variegated leaves, textures, and colors. Foliage can provide visual interest even when flowers are not in bloom, ensuring that your space remains attractive throughout the seasons.
Step 5: Planting Your Garden
Next up, the fun part - getting your hands dirty!
Once you've established what you want to plant and where it's going - then it's time to get busy putting your plantings in the ground.
Digging the Holes
Start by digging a hole that is slightly wider and deeper than the root ball or container of the plant you're going to plant. The depth should be enough to accommodate the roots comfortably.
Remove any rocks, weeds, or debris from the hole to provide a clean planting environment.
If the soil is compacted, use a garden tool to loosen it up before digging the hole. This helps with drainage and root penetration.
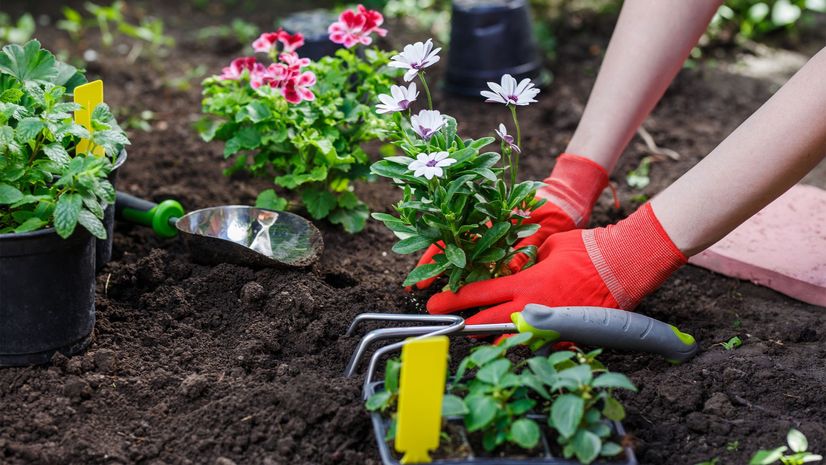
Planting the Seedlings or Plants
Gently remove the plant from its container, being careful not to damage the roots.
Place the plant in the hole, making sure it sits at the same depth it was growing in its container. The soil level around the plant's stem should be slightly higher than the surrounding soil to allow for settling.
Fill the hole with soil, gently pressing it around the roots to eliminate air pockets. Avoid packing the soil too tightly, as it can hinder water penetration and root growth.
If you're planting seeds, follow the recommended seed depth and spacing guidelines provided on the seed packet. After placing the seeds in the hole, cover them with soil and gently firm it down.
Step 6: Establishing Your Plants
Now that you have successfully planted everything you'll need to give your garden a little extra help in the first few years... That's right, we said years! Gardens take about 3 years to fully mature- so you've made an investment, but we promise it will be worth it!
Watering and Mulching
After planting, water the newly planted seedlings or plants thoroughly to help settle the soil and ensure good root-to-soil contact.
Apply a layer of organic mulch around the base of the plants to help conserve moisture, suppress weed growth, and regulate soil temperature.
Post-Planting Care
Regularly water the garden as needed, keeping the soil moist but not overly saturated. Adjust watering frequency based on weather conditions and the specific water requirements of your plants.
Monitor your garden for pests, diseases, and weeds, taking appropriate measures to manage them effectively.
Provide support, such as stakes or trellises, for taller plants that may require it.
Join our Newsletter
Sign up for our email list to receive exclusive promotions and landscape design inspiration.
Remember to consider the specific requirements of the plants you're growing, as planting techniques can vary depending on the plant species. It's also essential to choose appropriate planting times based on your local climate and growing season.
We know this is a lot, but we promise, gardening is rewarding and something the whole family can enjoy!
And remember, you can also opt for a predesigned garden with Bower & Branch x Tilly's Sit Back & Enjoy garden that includes trees, shrubs and plants tailored to just your area! It also comes with two professional design layouts so you can ensure your garden blooms into something beautiful. It's as easy as paint by numbers, but with plants!


Read more about: Landscape Design Tips, Gardening Tips